Groups provide a way to organize your Assets in nearly any manner you wish.
Opening the Groups window will display a list of all existing Groups on your account. Groups are created using existing Assets and Users that are part of your account. You must be an administrator of your TeMeDa account to create groups.
In the Group window, there is a real-time filter that can be used to quickly find the group you wish to work with. Each Group has a description for easier reference as the number of Assets, Users and Groups grow. In the Group window, there are two actions that can be taken for each Group: edit or delete.
To create a new Group, click on the Add Group button in the top right side of the Group window.
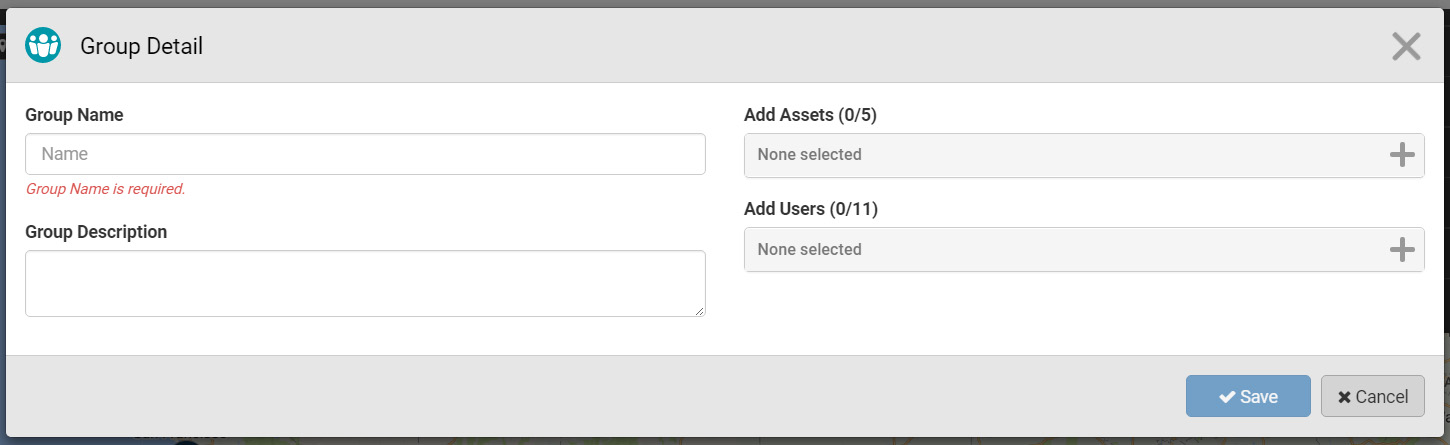
Add a Group
The Add Group window has fields to enter in the Group Name and Description as well as allows you to select the Assets and Users you want to assign to each Group. Group Name is the only required field to successfully create a Group. Once the Group information has been completed, you must click the Save button to complete the action.
Edit a Group
To edit a Group, click the pencil icon on the right side of the Groups modal window. Each of the existing fields can be modified. Group Name is a required field and must contain a unique value for your account for the changes to be saved. The bottom of the Edit a Group window will show who created the group, when they created it, who most recently modified it and when it was most recently modified.
Export Groups
You can Export Groups as comma-separated values by clicking the Export Data button on the Groups modal window.